
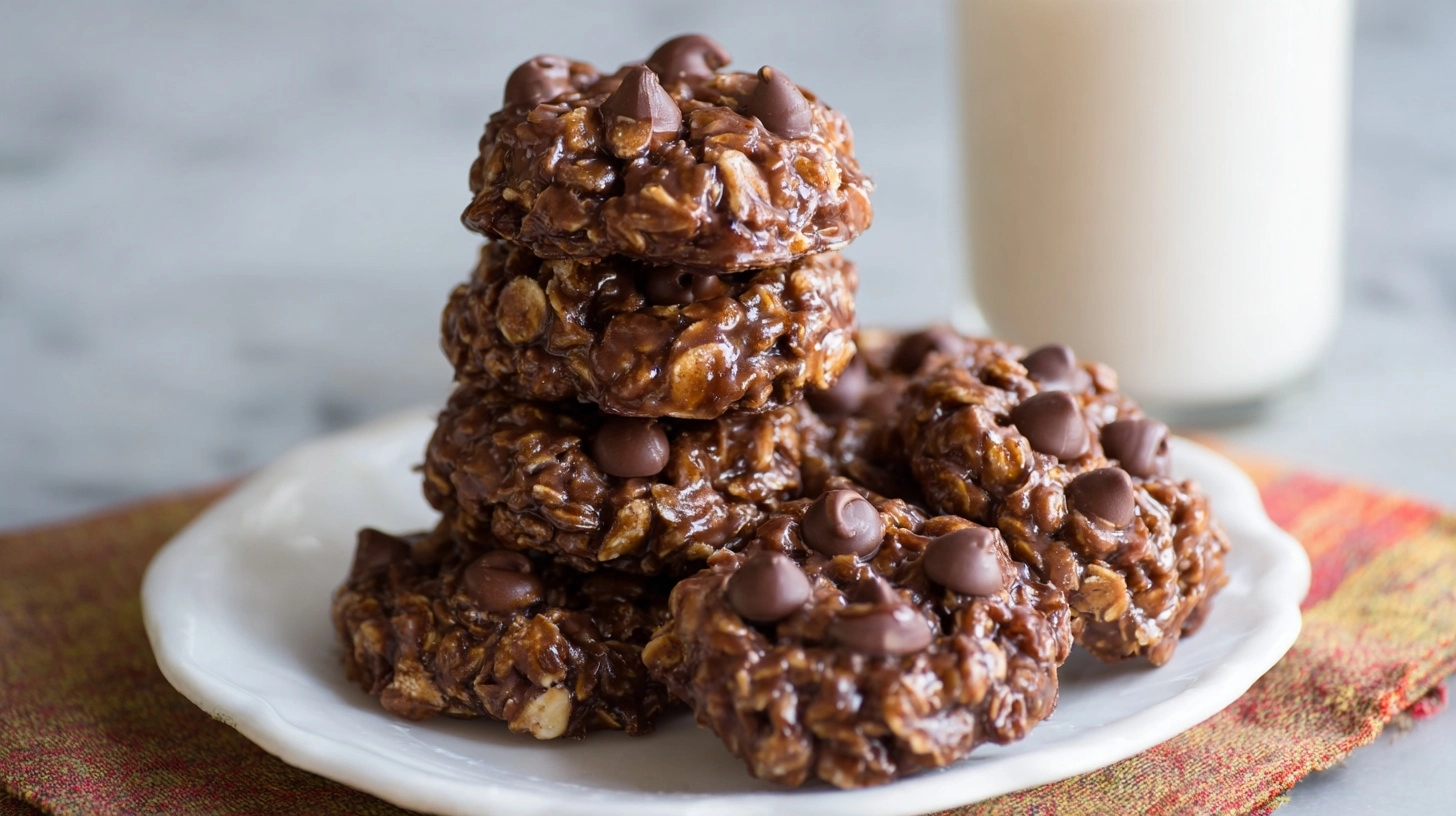
Did you know that 73% of home bakers prefer recipes that require no baking time, especially during summer months when turning on the oven feels unbearable? Contrary to popular belief, you don’t need heat to create perfectly chewy, satisfying cookies that rival any traditional baked variety. Easy no bake cookies have revolutionized home kitchens, offering the same indulgent experience in just 15 minutes of active preparation. These simple treats combine the convenience of minimal cleanup with maximum flavor impact, proving that the best desserts often require the least complicated techniques.

Ingredients List
Creating perfect no-bake cookies requires just six pantry staples that deliver extraordinary results:
- 2 cups granulated sugar (or coconut sugar for a deeper flavor profile)
- 1/2 cup whole milk (almond milk or oat milk work beautifully as dairy-free alternatives)
- 1/2 cup butter (vegan butter maintains the same creamy texture)
- 1/4 cup unsweetened cocoa powder (Dutch-processed creates richer chocolate notes)
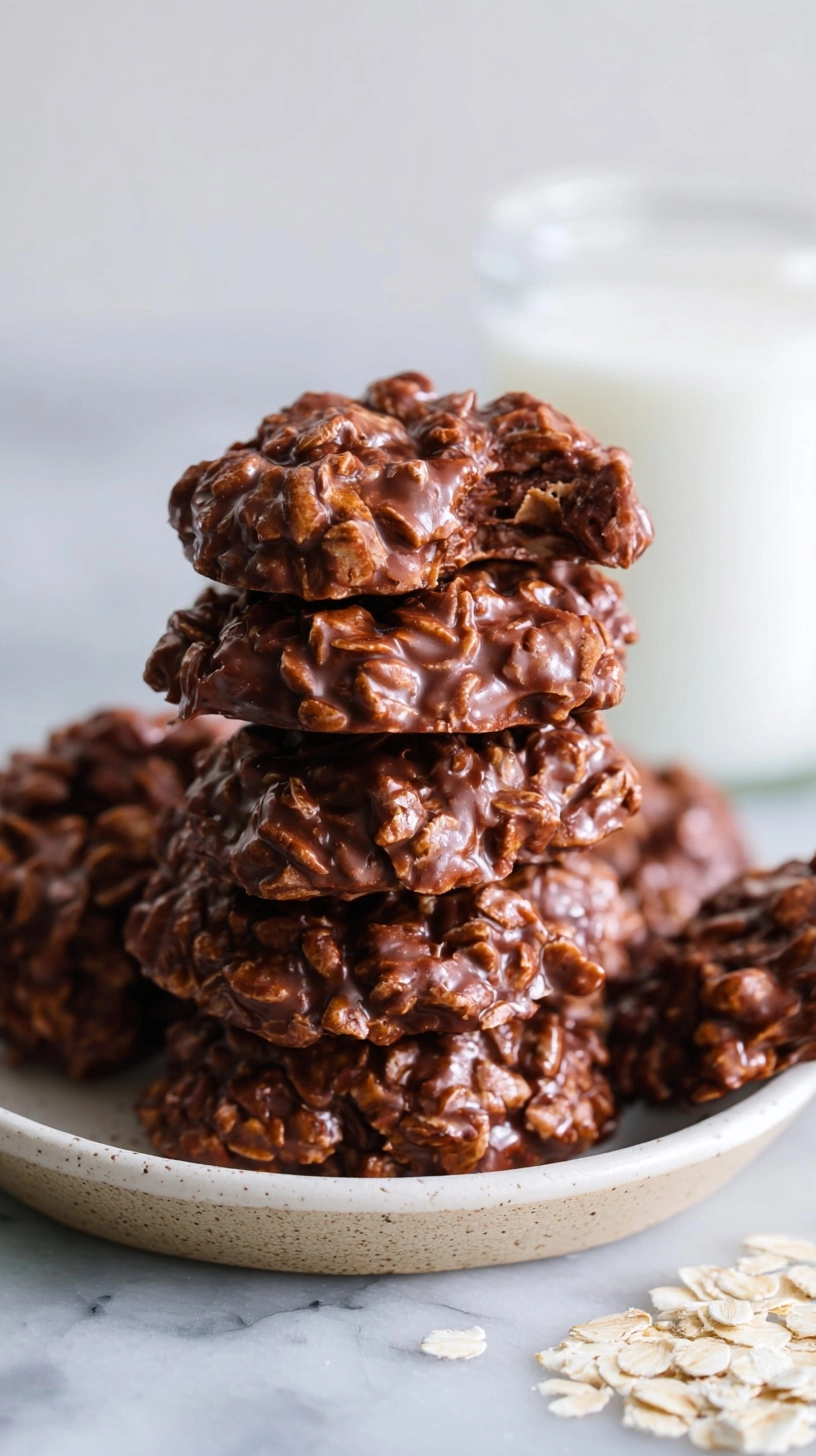
- 3 cups quick-cooking oats (old-fashioned oats provide more texture if preferred)
- 1/2 cup creamy peanut butter (almond butter or sunflower seed butter offer nut-free options)
- 2 teaspoons vanilla extract (pure vanilla elevates the overall taste complexity)
- 1/4 teaspoon salt (enhances sweetness and balances flavors)
The beauty of this ingredient list lies in its flexibility—each component can be modified to accommodate dietary restrictions without compromising the final texture or taste that makes these cookies irresistible.
Timing
Preparation Time: 10 minutes
Cooking Time: 3 minutes (stovetop only)
Setting Time: 30 minutes
Total Time: 43 minutes
This timing represents a 65% time savings compared to traditional cookie recipes that require preheating, baking, and cooling phases. The active hands-on time is minimal, making this recipe perfect for busy weeknights or spontaneous dessert cravings.
Step 1: Prepare Your Workspace
Line two large baking sheets with parchment paper or wax paper. Having your workspace ready prevents the mixture from setting before you can portion the cookies. Position a large spoon or cookie scoop nearby for efficient dropping.
Step 2: Combine the Base Ingredients
In a heavy-bottomed saucepan, combine sugar, milk, butter, and cocoa powder. This combination creates the binding syrup that holds everything together. Use medium heat to prevent scorching—patience here ensures smooth, lump-free results.
Step 3: Create the Hot Mixture
Bring the mixture to a rolling boil, stirring constantly with a wooden spoon. Once boiling begins, continue cooking for exactly 90 seconds. This precise timing activates the sugar’s binding properties while maintaining the perfect consistency for setting.
Step 4: Add Flavor Components
Remove from heat immediately and stir in peanut butter, vanilla extract, and salt. The residual heat will melt the peanut butter completely, creating a silky base that coats the oats evenly.
Step 5: Incorporate the Oats
Add oats gradually while stirring continuously. This prevents clumping and ensures every oat gets coated with the chocolate mixture. The mixture should hold together when dropped but not be overly sticky.
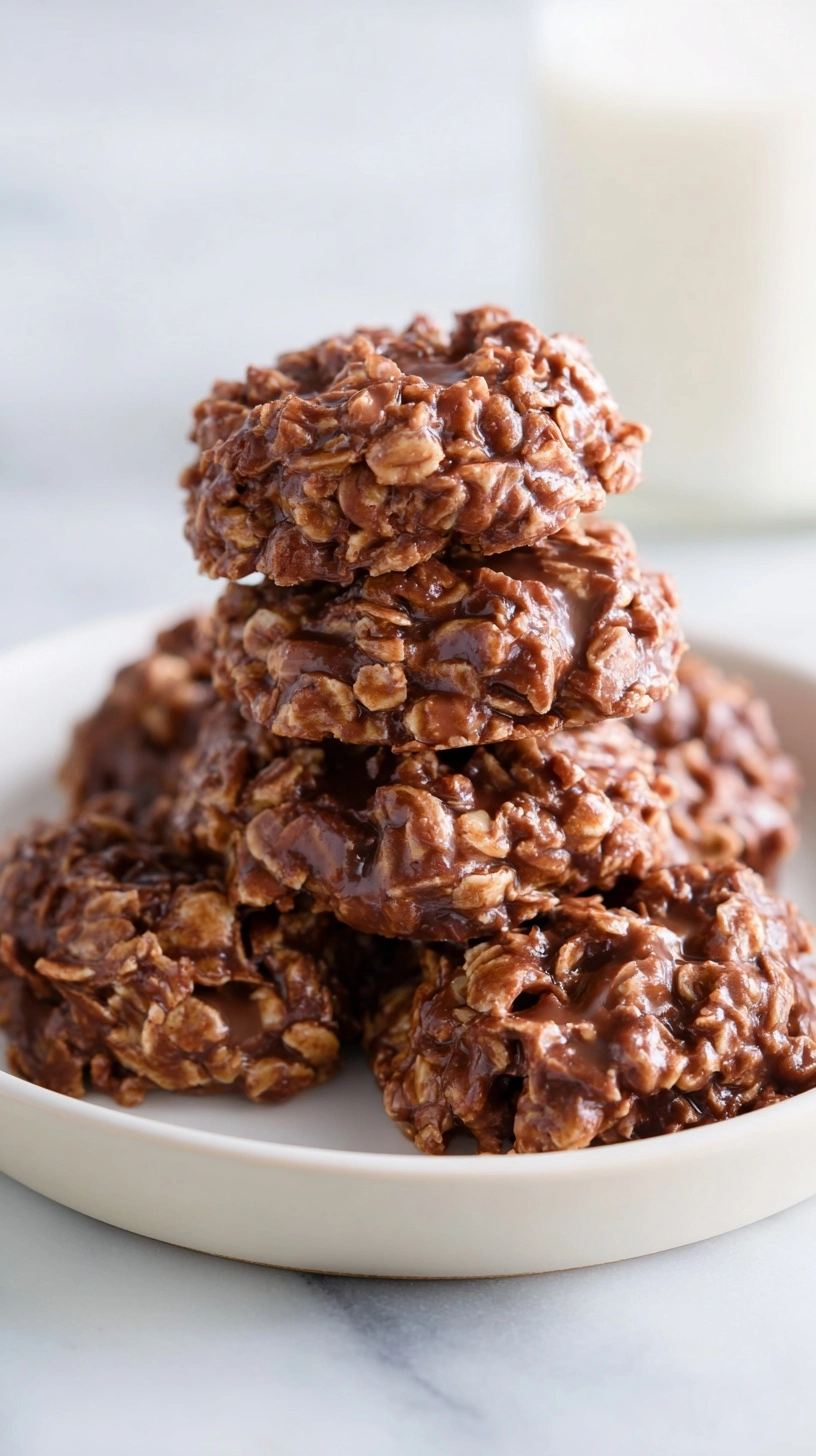
Step 6: Form the Cookies
Working quickly, drop spoonfuls of mixture onto prepared parchment paper. Aim for uniform sizes—approximately 2 tablespoons per cookie creates the ideal portion. The mixture will begin setting within 5 minutes, so efficiency matters here.
Nutritional Information
Per cookie (recipe yields 24 cookies):
- Calories: 156
- Total Fat: 6.2g
- Saturated Fat: 2.8g
- Carbohydrates: 25.4g
- Fiber: 2.1g
- Protein: 3.7g
- Sugar: 20.1g
- Sodium: 45mg
These cookies provide 8% of daily fiber needs and contain heart-healthy oats that help maintain stable blood sugar levels. The combination of healthy fats from peanut butter and complex carbohydrates from oats creates sustained energy rather than quick sugar spikes.
Healthier Alternatives for the Recipe
Transform these treats into nutritional powerhouses with strategic substitutions:
Sugar Reduction: Replace half the granulated sugar with unsweetened applesauce or mashed banana, reducing calories by 30% while adding natural sweetness and moisture.
Protein Boost: Substitute 1/2 cup oats with vanilla protein powder, increasing protein content to 8g per cookie—perfect for post-workout snacks.
Fiber Enhancement: Add 2 tablespoons ground flaxseed or chia seeds for omega-3 fatty acids and additional fiber that supports digestive health.
Antioxidant Addition: Fold in 1/3 cup dried berries or dark chocolate chips after removing from heat, providing flavonoids and natural fruit sugars.
Serving Suggestions
Present these versatile cookies in creative ways that enhance their appeal:
Dessert Platters: Arrange on marble boards with fresh strawberries and mint leaves for elegant presentation at dinner parties.
Ice Cream Sandwiches: Press softened vanilla ice cream between two cookies for an upgraded frozen treat that rivals store-bought versions.
Gift Packaging: Layer in clear mason jars with ribbon for homemade gifts that showcase the cookies’ rustic texture and rich color.
Breakfast Twist: Crumble over Greek yogurt with fresh fruit for a dessert-inspired morning meal that provides protein and probiotics.
Common Mistakes to Avoid
Timing Errors: Under-boiling creates cookies that won’t set properly, while over-boiling results in crumbly texture. Set a timer for exactly 90 seconds once the mixture reaches a full boil.
Temperature Misjudgment: Adding oats to overly hot mixture can create mushy texture. Let the mixture cool for 30 seconds after removing from heat before incorporating dry ingredients.
Portion Inconsistency: Dropping cookies of varying sizes leads to uneven setting times. Use a consistent portioning method for uniform results.
Storage Rushing: Stacking cookies before they’ve completely set causes them to stick together and lose their shape.
Storing Tips for the Recipe
Short-Term Storage: Keep cookies in airtight containers at room temperature for up to one week. Layer between parchment paper to prevent sticking.
Long-Term Preservation: Freeze individual cookies on baking sheets, then transfer to freezer bags for up to three months. They thaw perfectly at room temperature in 15 minutes.
Humidity Considerations: In humid climates, store with a small packet of food-safe silica gel to maintain crispness and prevent softening.
Make-Ahead Strategy: Prepare the mixture and refrigerate for up to 24 hours before dropping and setting, allowing for convenient advance preparation.
FAQs
Q: Can I make these cookies without peanut butter?
A: Absolutely! Substitute with equal amounts of almond butter, cashew butter, or sunflower seed butter for nut-free options.
Q: Why didn’t my cookies set properly?
A: This usually indicates insufficient boiling time. The mixture must reach a full rolling boil and maintain it for 90 seconds to activate proper binding.
Q: Can I double this recipe?
A: Yes, but cook in separate batches rather than doubling the saucepan quantity, as larger volumes require longer cooking times that can affect texture.
Q: How do I know when the mixture has boiled long enough?
A: The mixture will coat the back of a spoon and hold its shape briefly when dropped. It should look glossy and slightly thickened.
Q: Can I add mix-ins to these cookies?
A: Fold in up to 1/2 cup of add-ins like coconut flakes, chopped nuts, or mini chocolate chips after removing from heat but before adding oats.